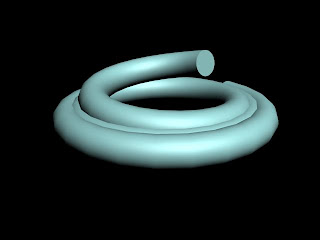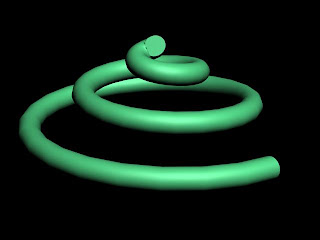
The image shown above was the first 3D image I create using the lofting tool. This image did not come out as I expected because I made the cross section too big. This made each layer of the coil integrate which was not expected. So I made another attempt at using the lofting tool which is shown below.

I created this by using two simple shapes. Firstly I created a helix to create the basic shape of the swirling coil and made it into the shape and size I was happy with. I then changed the parameters of the helix to a bias of -0.5 and the number of turns to 3 or 4. From this I had the basic shape of the helix and all I needed to do was create a cross section to make the shape bolder and appear in 3D. I drew a small circle which represented the boldness that the swirl was going to appear. I then selected the lofting tool from the geometry section and selected 'Get Shape' and clicked on the shape to make it look appear bolder and in 3D as shown below.

No comments:
Post a Comment